How to Layer in Good Notes?
Good Notes is a popular note-taking app for iOS that offers powerful features for organizing and annotating documents. One of its most useful features is the ability to layer content, which can help you create more dynamic and organized notes. Here’s a step-by-step guide on How to Layer in Good Notes?
Also Read: When will Good Notes 6 be Released?
Understanding Layers in Good Notes
In Good Notes, layers allow you to stack different elements on top of each other. This can be particularly useful for organizing complex notes, creating visual diagrams, or annotating PDFs. While Good Notes doesn’t have a traditional layer system like graphic design software, you can still achieve a layering effect with the following techniques.
Using the Lasso Tool for Layering
The Lasso Tool in GoodNotes is essential for moving, resizing, and layering elements. Here’s how to use it:
Select the Lasso Tool
Open your GoodNotes document and tap the lasso icon in the toolbar (it looks like a lasso or lasso-shaped loop).
Draw Around the Content:
Use the lasso to draw around the content you want to layer (e.g., text, images, shapes).
Adjust Your Selection:
After you release the lasso, a menu will appear with options like Cut, Copy, Paste, or Resize.
Move or Layer Content
Choose ‘Cut’ to remove the content, or ‘Copy’ to duplicate it. Then use ‘Paste’ to reposition it on the page, effectively layering it over or under other elements.
Creating and Using Custom Templates
Custom templates can be a powerful way to manage layers of content in GoodNotes:
Create a Template:
Design your template in a graphic design app or use a template from the GoodNotes community. Templates can include headers, backgrounds, or pre-made designs.
Import Your Template:
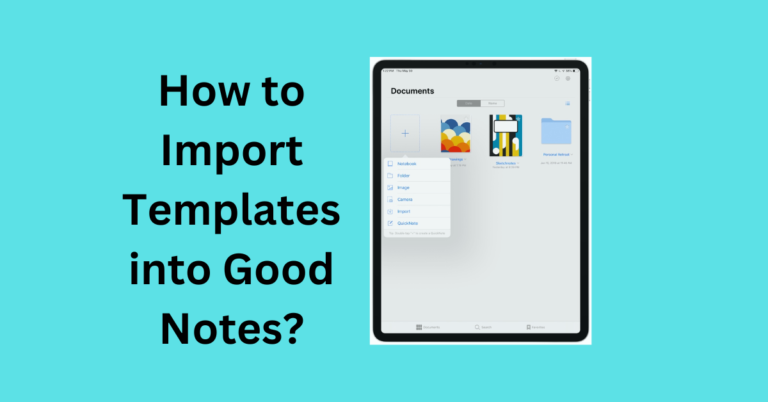
Open GoodNotes and create a new notebook or open an existing one. Tap the ‘+’ button, then select ‘Import’ to add your template.
Layer Content:
Add notes, drawings, or annotations on top of your template. Since the template is a background layer, your new content will appear on top of it.
Using Colors and Transparency for Layering
Good Notes allows you to use different colors and adjust transparency, which can create a layering effect:
Draw or Annotate:
Use the drawing tools to create shapes, lines, or text.
Adjust Color and Opacity:
Tap the color picker to choose a color and adjust the opacity slider. This will make your drawings semi-transparent, allowing you to layer additional content on top.
Combine Layers:
Create multiple semi-transparent layers to achieve depth and visual interest.
Organizing Pages and Using Multiple Documents
If your notes become too complex, consider organizing them into multiple pages or documents:
Add New Pages:
Tap the thumbnail view (usually found in the upper-left corner) and add new pages to your notebook.
Use Separate Documents:
If you have distinct layers of content, create separate documents for each layer. This way, you can keep your notes organized and easy to navigate.
Tips for Effective Layering
- Keep it Simple:
Avoid excessive layering, which can make your notes cluttered and hard to read.
- Use Colors Wisely:
Different colors and transparencies can help differentiate layers, but ensure they are easily distinguishable.
- Regularly Review and Edit:
Periodically review your notes to adjust layers and ensure everything is organized and legible.
Conclusion
Layering in GoodNotes can greatly enhance your note-taking experience by allowing you to organize and present information more effectively.
By using the lasso tool, creating custom templates, and adjusting colors and transparencies, you can create visually appealing and well-organized notes. Experiment with these techniques to find the best way to layer content for your needs.


![[GoodNotes] Copy Or Move Pages From One Document To Another](https://goodnotesguide.com/wp-content/uploads/2024/03/Copy-Or-Move-Pages-From-One-3-768x402.webp)


